Thailand Tooth Extraction Care for Patients Seeking Affordable Solutions
Thailand Tooth Extraction Care for Patients Seeking Affordable Solutions
Thailand Tooth Extraction Care for Patients Seeking Affordable Solutions
If you’re planning a tooth extraction in Thailand because the prices are easier on the wallet, you’re not alone. Thailand’s dental scene is well-known for friendly dentists, modern clinics, and competitive fees. This guide walks you through how to find affordable care, what to expect from the procedure, and how to recover smoothly—without blowing your budget.
Finding Safe, Affordable Dental Clinics
You can keep costs low and still receive proper care by choosing wisely:
- Compare clinics: Neighborhood clinics outside tourist hot spots can be cheaper than prime areas like Sukhumvit or Silom. Look at reviews, sterilization standards, and dentist credentials.
- Consider teaching hospitals: Dental schools (for example, at Chulalongkorn or Mahidol) offer student clinics supervised by specialists at lower rates. Expect a longer appointment and limited slots, but very good value.
- Government hospitals: Fees are usually lower, though queues can be longer. Arrive early for a queue number or book in advance.
- Ask what’s included: Confirm consultation, X-ray, simple vs. surgical extraction fees, medication, and follow-up. A low sticker price can add up if extras are charged separately.
- Language and booking: Many Thai dentists speak English. You can often book via phone, Facebook, or LINE. If you need a receipt for insurance, request an English receipt before you go.
Typical Costs in Thailand
Prices vary by location, tooth position, and complexity:
- Simple extraction: roughly 800–2,500 THB at local clinics; a bit more in central Bangkok.
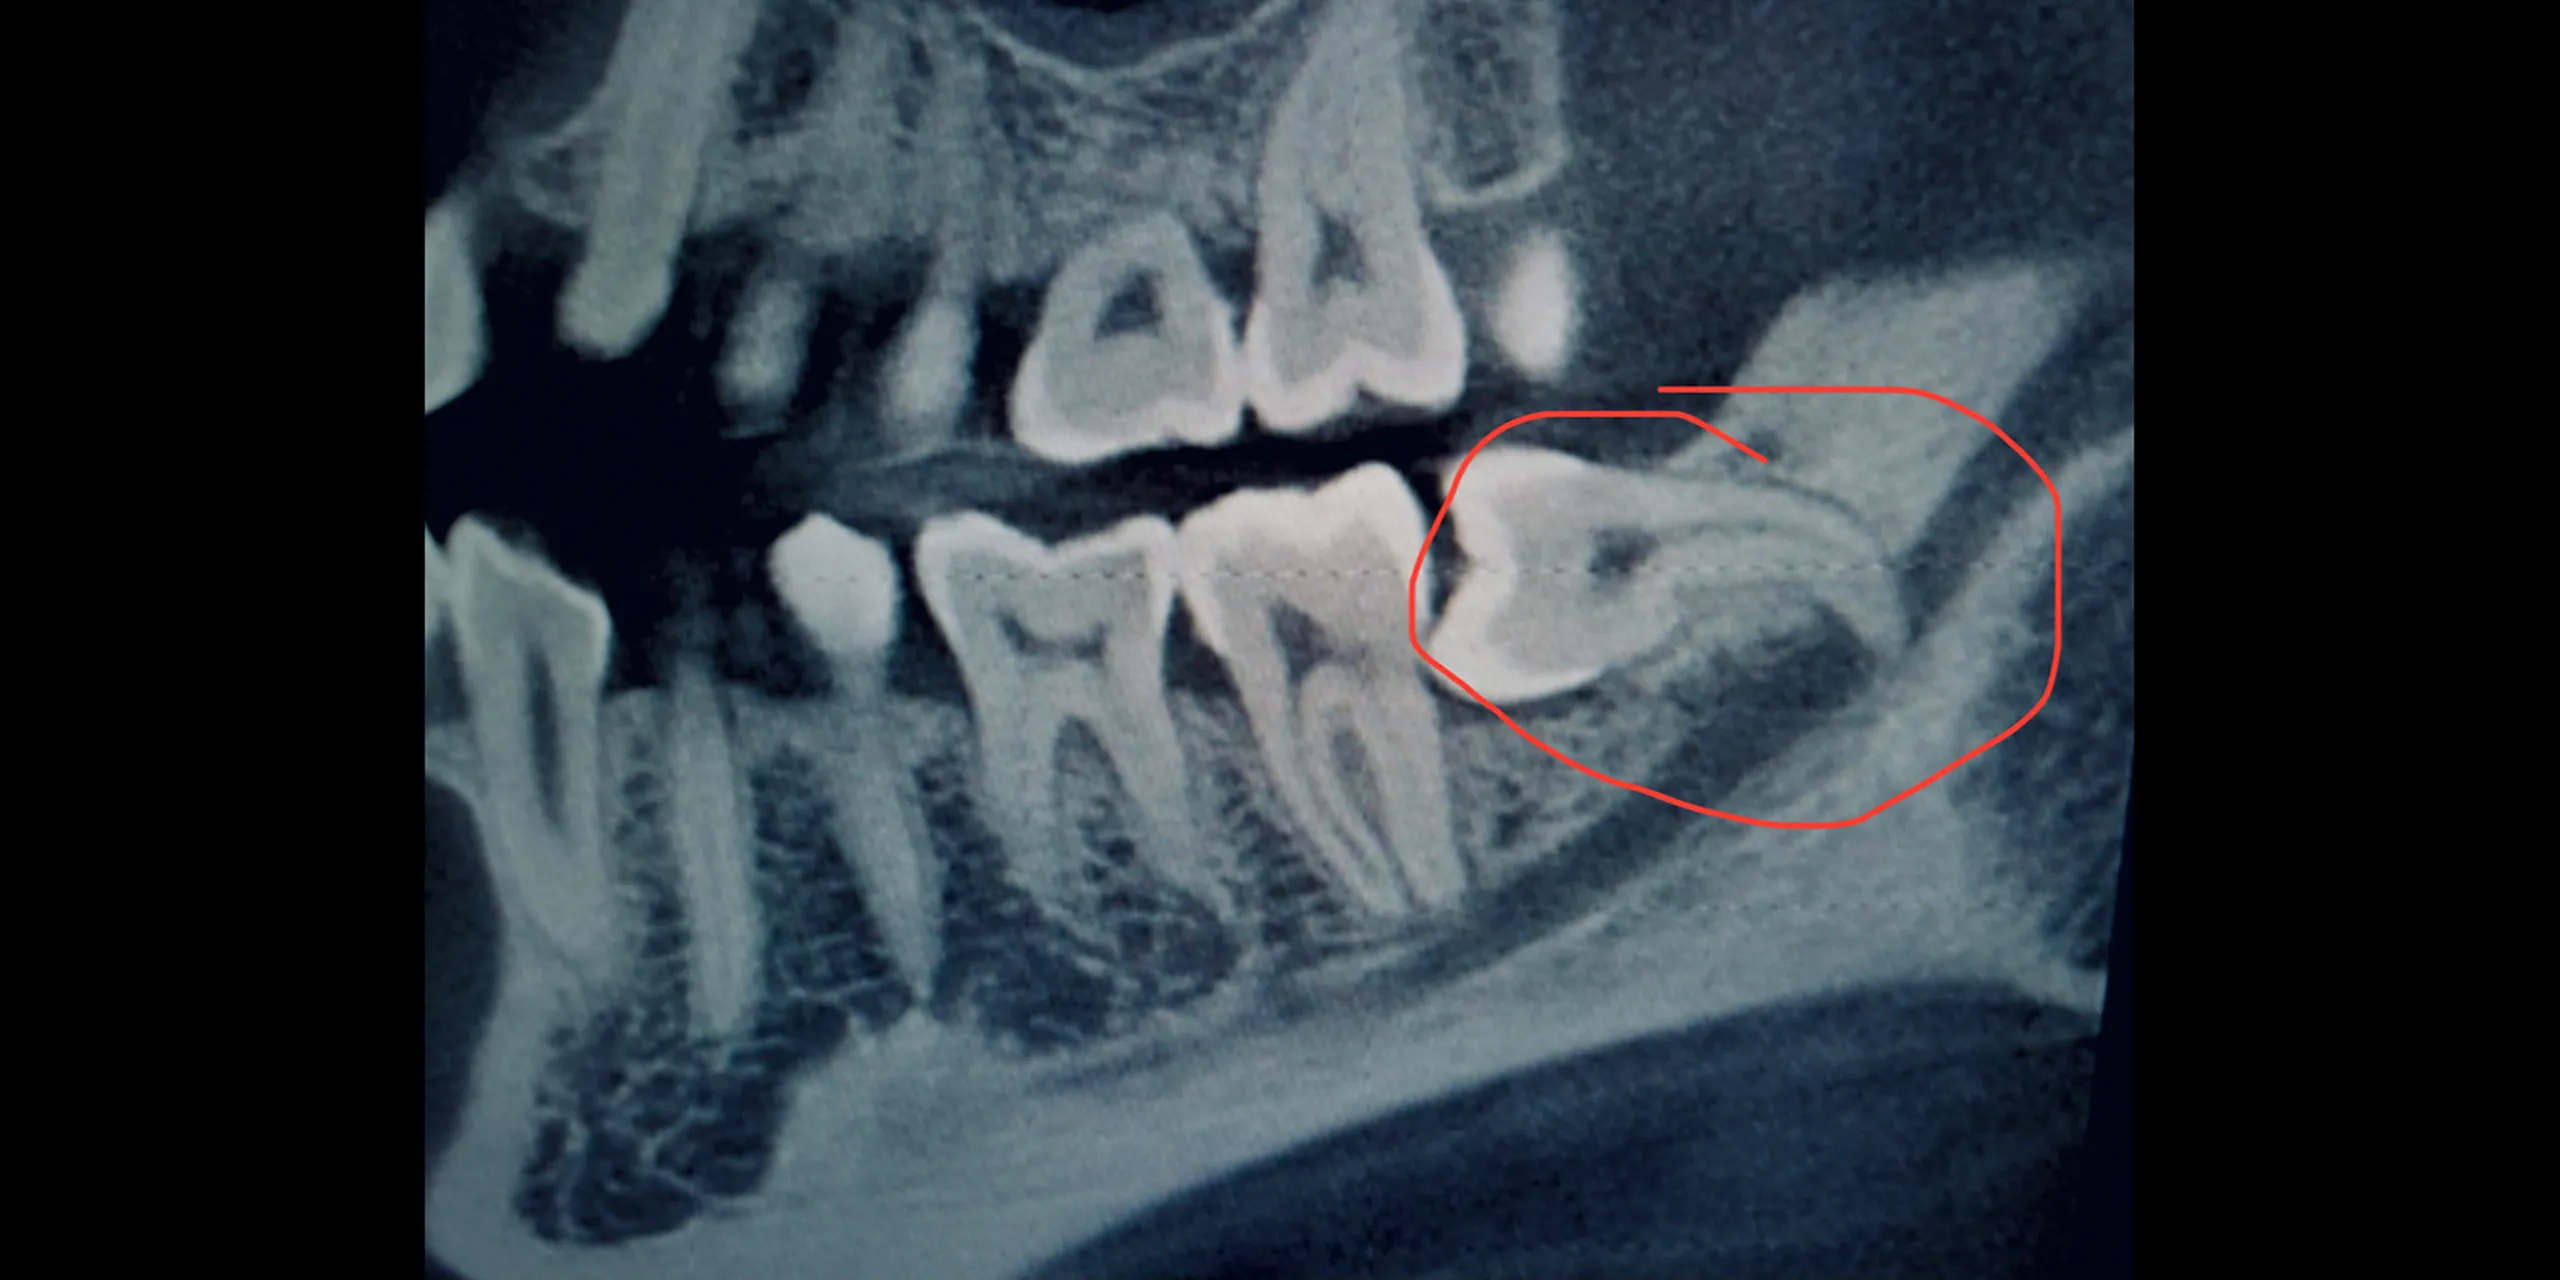
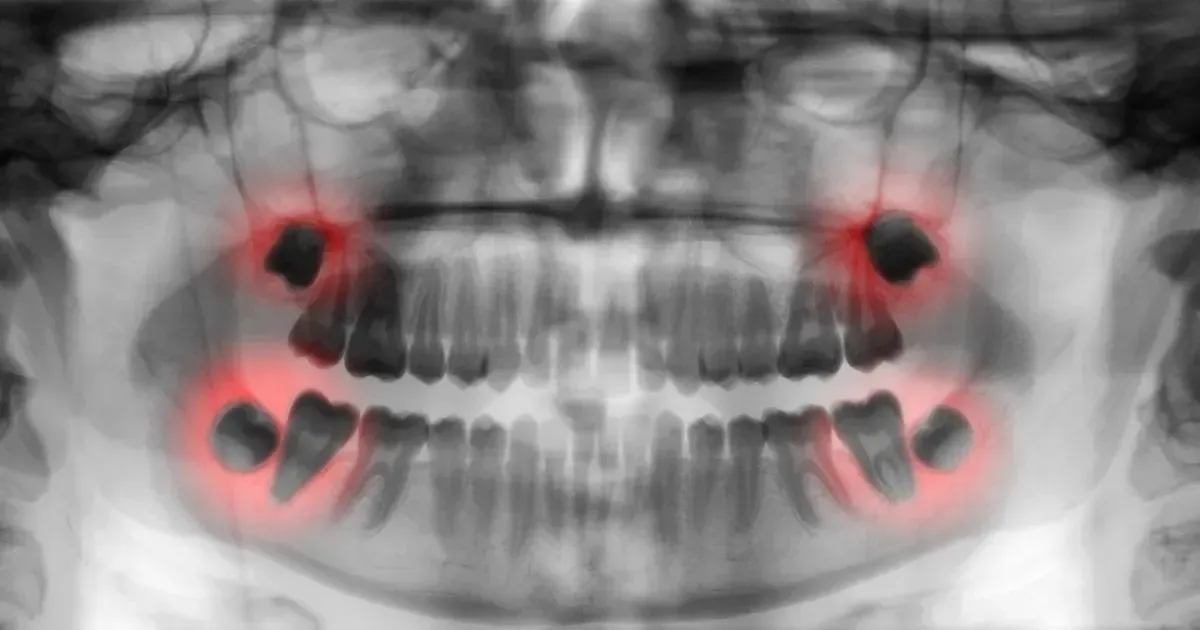
- Surgical extraction (including impacted wisdom teeth): roughly 3,000–12,000 THB depending on difficulty.
- Sedation or IV: additional fees if offered (not common for basic cases).
Ask for an estimate after an X-ray; that’s the most accurate way to avoid surprises.
Before Your Appointment
A little planning makes a big difference:
- Share your medical history: Tell your dentist if you’re taking blood thinners, have high blood pressure, diabetes, or any allergies. Don’t stop medication without your doctor’s advice.
- Eat a light meal: Unless you’re told otherwise, have a small meal 1–2 hours before. Avoid alcohol.
- Bring essentials: Passport or ID, a list of medicines, cash or PromptPay/QR options, and arrange transport. Many clinics are near BTS/MRT, so commuting is easy.
- Travel timing: Avoid extracting a tooth the day before island hopping or a long bus ride. Give yourself at least 48–72 hours of easy recovery time.
What Happens During Extraction
- Numbing: You’ll get local anesthesia. You might feel pressure but no sharp pain. If you still feel pain, tell your dentist straight away.
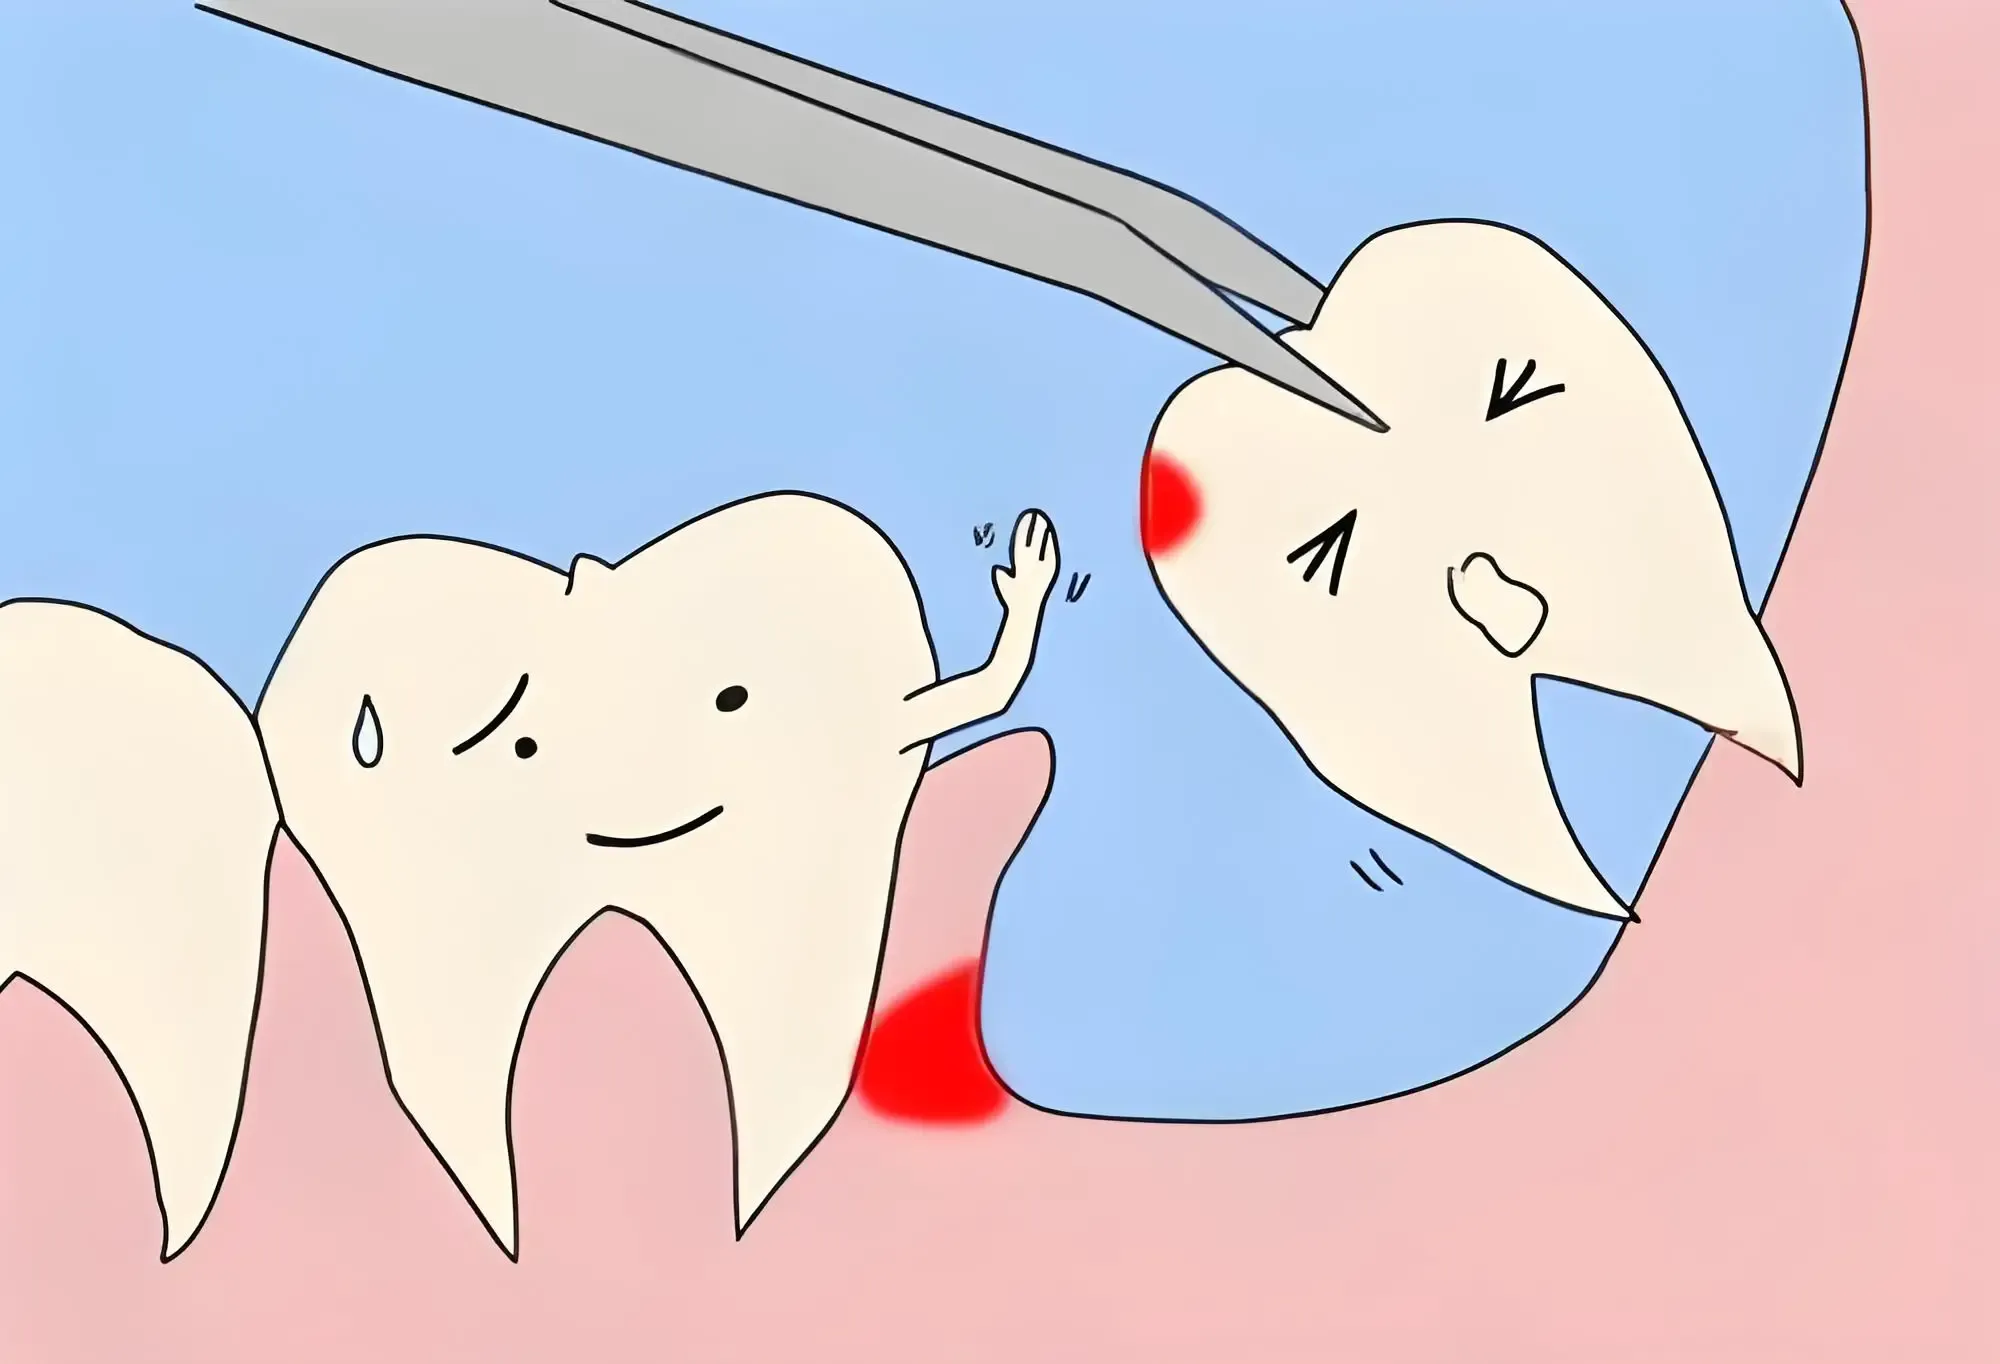
- Simple vs. surgical: Simple extractions are quicker. Surgical extractions (e.g., impacted wisdom tooth) can take more time and may involve a small incision.
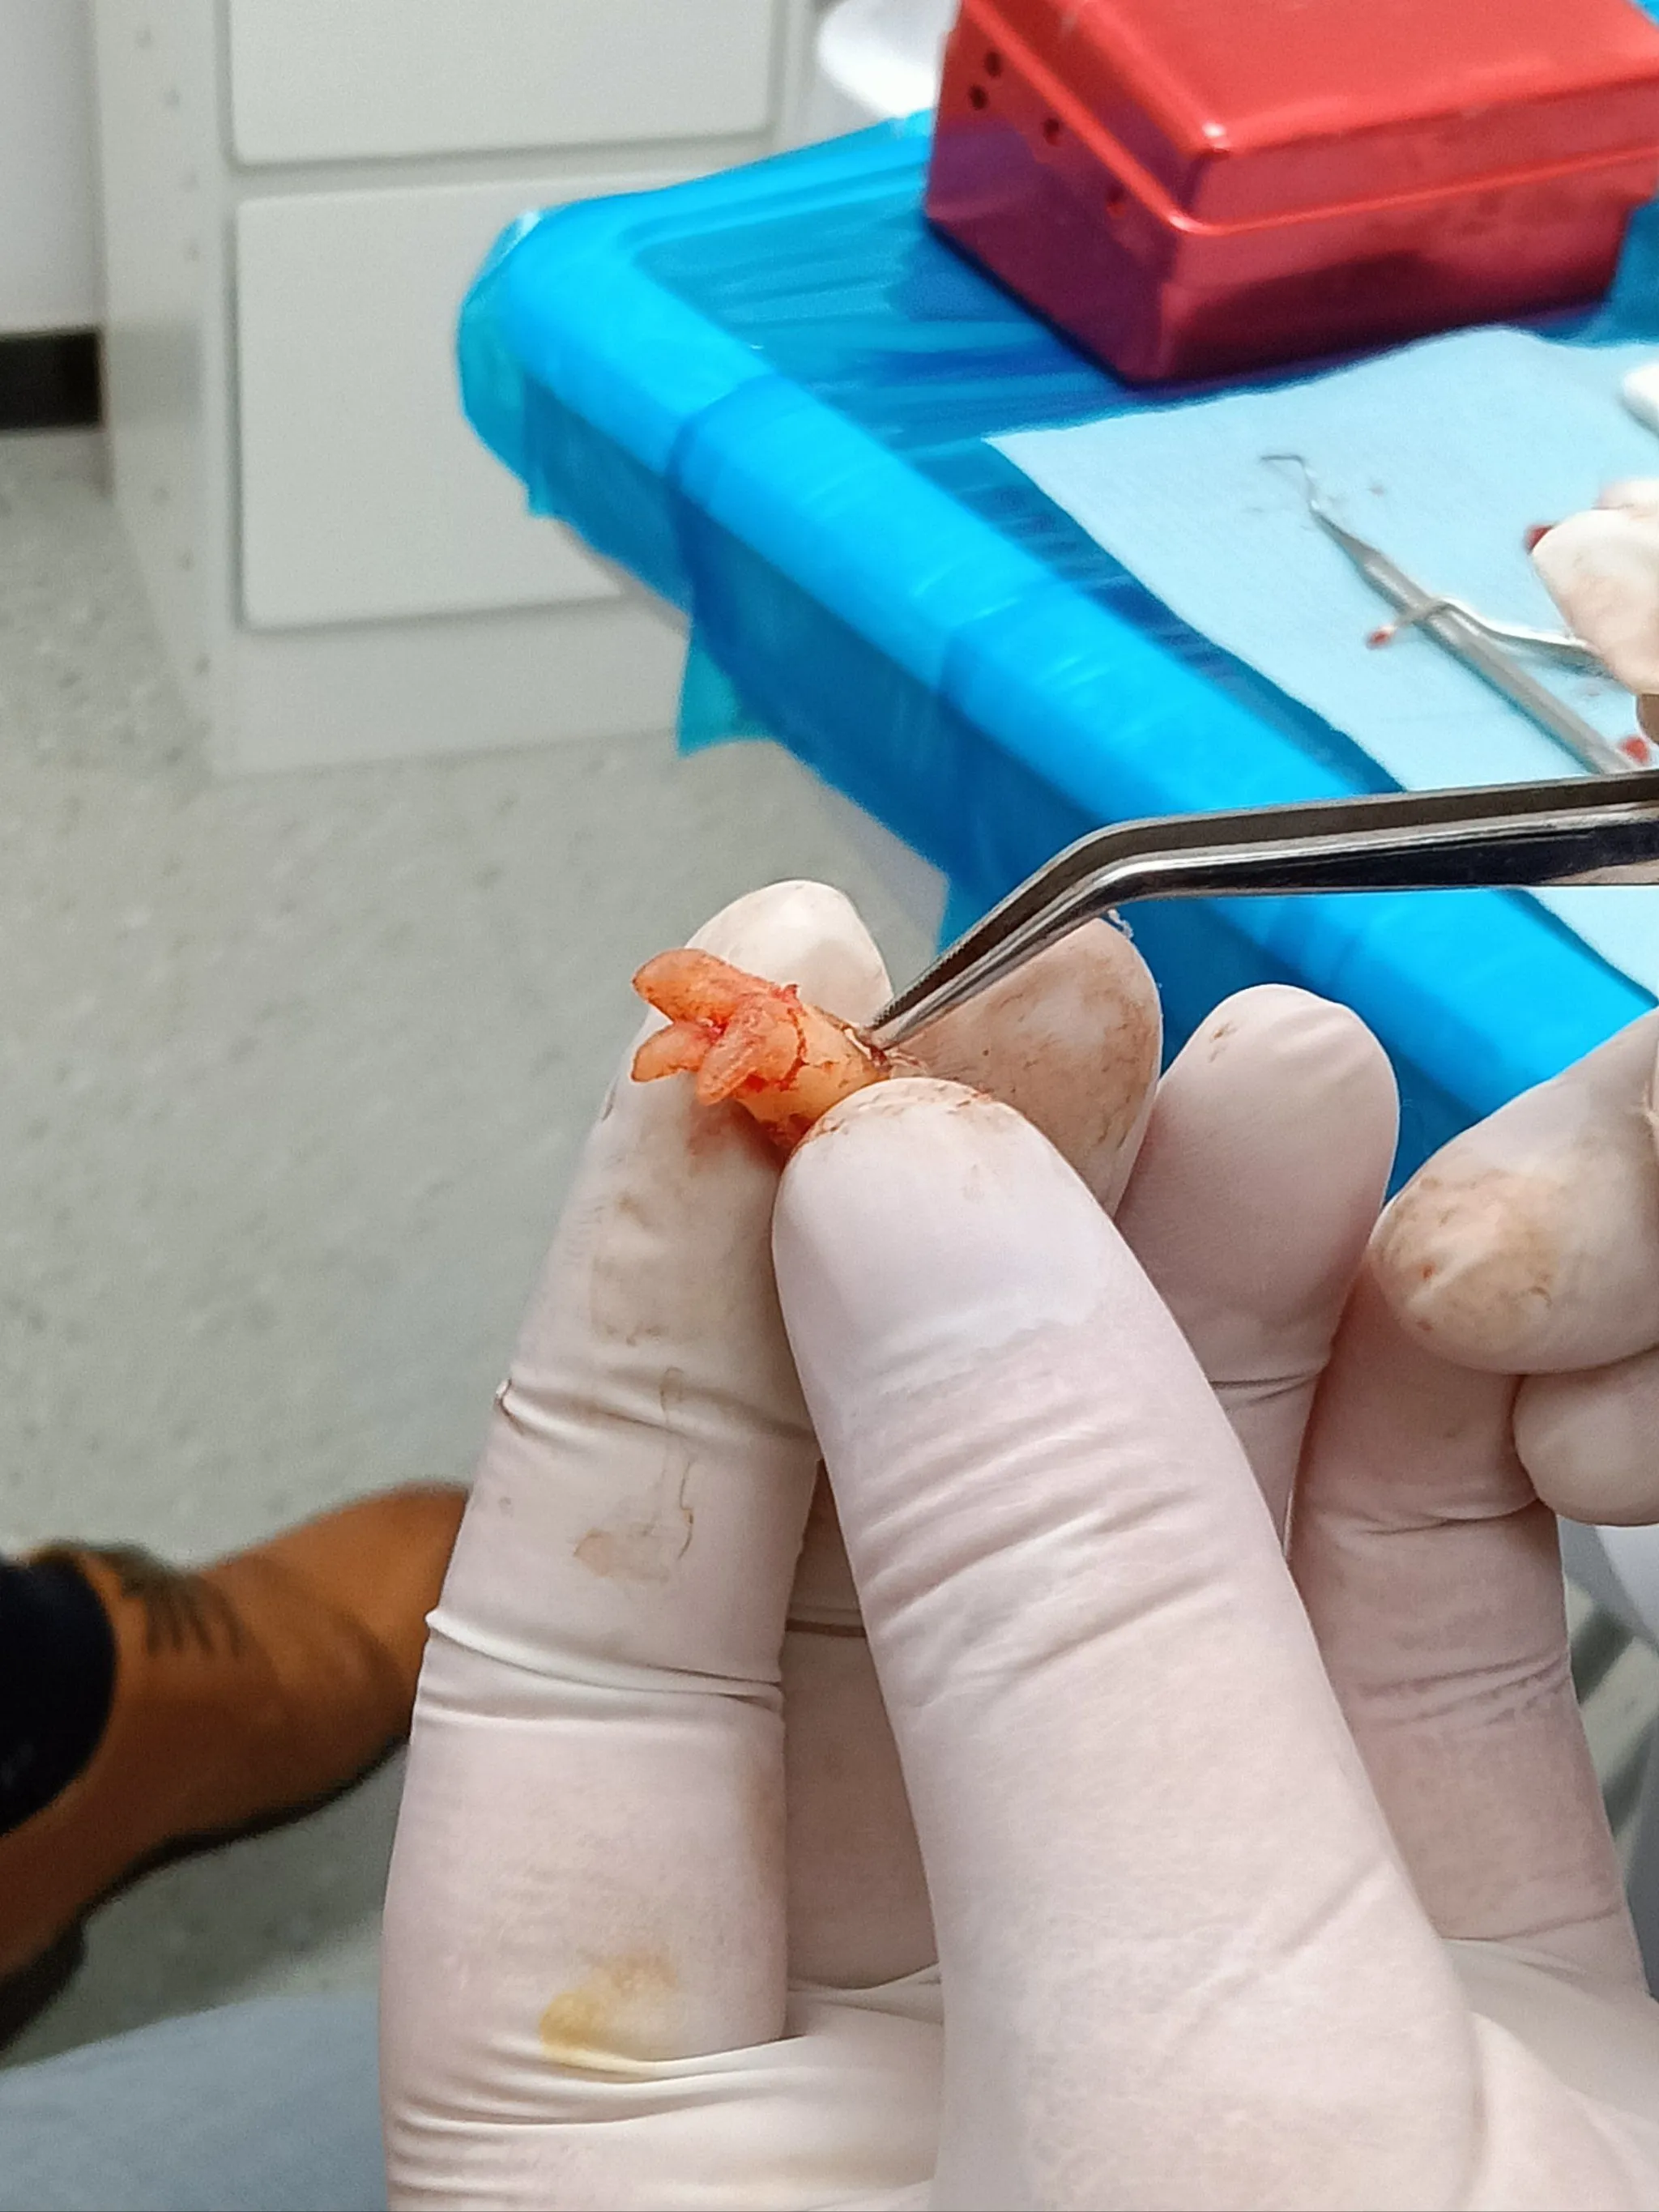
- After removal: The dentist will place gauze for you to bite down to form a blood clot. You’ll receive instructions and sometimes medication.
Aftercare: First 24 Hours
Protecting the blood clot is the number one goal:
- Bite firmly on gauze for 30–45 minutes, then change if needed. If bleeding is steady, dampen fresh gauze or use a tea bag (not hot), and bite for another 30 minutes.
- No rinsing, swishing, or spitting for 24 hours. Avoid straws completely—suction can dislodge the clot and cause dry socket.
- Ice pack outside your cheek: 10–15 minut
es on, 10–15 minutes off for the first 6–8 hours to reduce swelling.
- Keep your head elevated when resting. Skip heavy exercise and avoid hot food and drinks on day one.
- No smoking, vaping, or alcohol. These delay healing and increase complication risk.
Aftercare: 24–72 Hours and Beyond
- Gentle rinses: After the first 24 hours, rinse with warm salt water (half a teaspoon of salt in a small glass of warm water) 2–3 times a day, especially after meals. Do not rinse forcefully.
- Brushing: Brush your other teeth as usual, but be gentle near the extraction site.
- Swelling and soreness: Usually peak around 48 hours. Continue cold compresses on day two if still puffy; switch to warm compresses from day three if recommended.
- Back to normal: Most people feel much better by day three. Avoid poking the area with your tongue or fingers.
What to Eat (Thailand-Friendly Ideas)
Choose soft, lukewarm foods that are easy to chew:
- Jok (rice porridge), khao tom (rice soup), soft-boiled eggs, yogurt, tofu, mashed potatoes, smoothies without a straw, soft bananas, steamed fish.
- Avoid sticky rice (can lodge in the socket), spicy dishes like som tam or tom yum for 48 hours, very hot soups, crunchy snacks, and sour foods that may sting.
- Stay hydrated with cool or room-temperature water. Avoid fizzy drinks and alcohol.
Medication Tips
- Pain relief: Paracetamol or ibuprofen are commonly used. Avoid aspirin as it can increase bleeding. Follow the dose on the label or as prescribed.
- Antibiotics: Only take if your dentist prescribes them. Finish the full course if started. Don’t buy antibiotics over-the-counter “just in case.”
- Mouthwash: Chlorhexidine may be advised in specific cases. Use only as directed and not immediately in the first 24 hours unless your dentist says so.
- Pharmacies: Boots, Watsons, and local pharmacies are widely available. Show the dentist’s prescription or photo of your meds if you need help.
Warning Signs: When to Contact the Clinic
Seek professional help if you notice:
- Persistent heavy bleeding after several hours of proper gauze pressure
- Worsening pain after day two, or intense pain radiating to the ear (possible dry socket)
- Fever, foul taste, pus, or swelling that increases after 48 hours
- Numbness that doesn’t improve, or difficulty opening your mouth
Keep the clinic’s phone or LINE handy. For urgent issues after hours, check if your clinic has an emergency number or visit a hospital with dental services.
Money-Saving Tips Without Cutting Corners
- Get a proper diagnosis and X-ray first to avoid multiple visits.
- Ask about package pricing that includes consultation, X-ray, extraction, meds, and follow-up.
- Consider off-peak locations or teaching hospitals for lower fees.
- Request an English receipt with procedure details if you plan to claim with travel insurance.
- Don’t be tempted by “too cheap” offers with unclear hygiene standards. Safety first.
A Smooth Experience in Thailand
With the right clinic and smart aftercare, Thailand tooth extraction care can be both affordable and comfortable. Give yourself a couple of easy days, follow the no-straw and no-spice rule at the start, and stick to soft Thai comfort foods until you’re back to normal. If anything feels off, don’t “mai pen rai” it—message or call your dentist and get advice early. This balanced approach keeps your smile—and your budget—in a good place while you enjoy your time in the Land of Smiles.