Thailand Tooth Extraction Care for Overseas Patients Seeking Expert Treatment
Thailand Tooth Extraction Care for Overseas Patients Seeking Expert Treatment
Thailand Tooth Extraction Care for Overseas Patients Seeking Expert Treatment
If you are flying to Thailand for dental care, tooth extraction is one of the most straightforward treatments to arrange. Thailand’s dentists are well-trained, clinics are equipped with digital X-rays and modern sterilisation systems, and fees are transparent and good value. Add easy transport around Bangkok by BTS and MRT, friendly staff, and English support at most city clinics, and you’ll find the experience smooth from booking to recovery.
Why Thailand is a smart choice
- Skilled clinicians: Many dentists and oral surgeons complete postgraduate training, including in surgical extractions and wisdom teeth removal, and regularly treat international patients.
- International standard facilities: Autoclave sterilisation, disposable instruments where appropriate, digital OPG and CBCT imaging, and clear consent processes are standard in established clinics and hospitals. Larger hospitals may hold international accreditations.
- Clear pricing: Simple extractions are typically quoted upfront, with surgical and wisdom tooth removal priced after X-ray assessment. Clinics in Bangkok, Chiang Mai, Phuket, and Pattaya are most experienced with overseas visitors.
- Easy communication: English-speaking dentists and nurses are common in city centres; clinics often confirm details and share instructions via email or Line Official accounts.
Estimating costs and payment
While fees vary by city and clinic profile, ballpark ranges are:
- Simple extraction (non-surgical): roughly 1,500–3,000 baht per tooth.
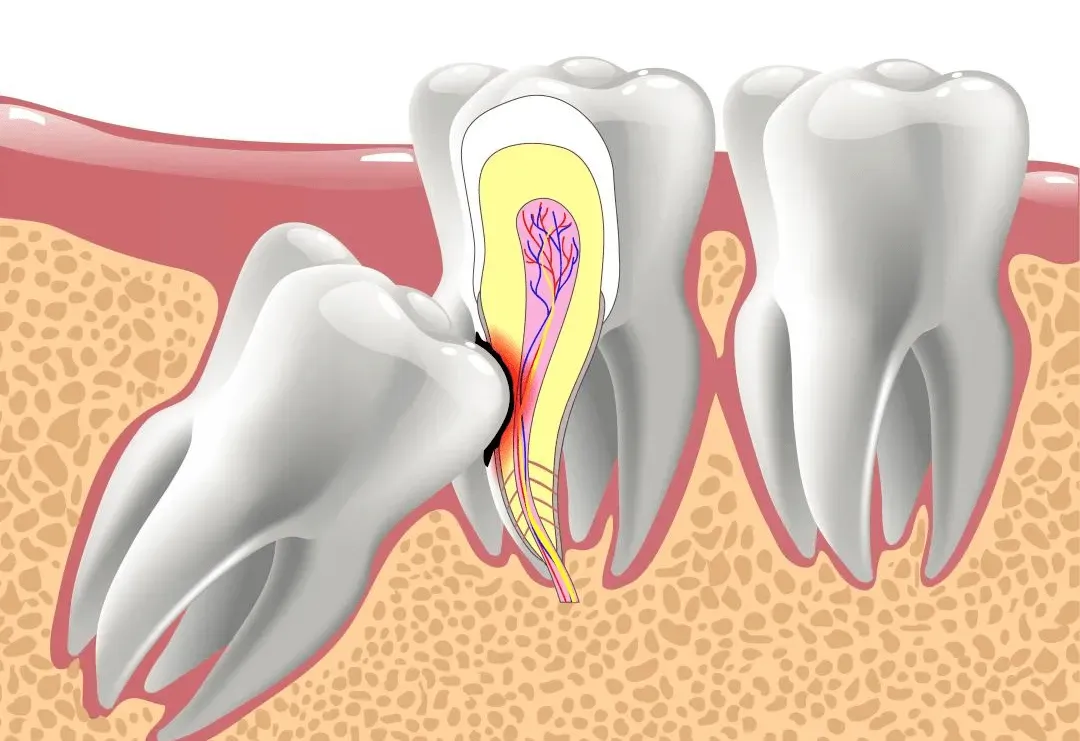
- Surgical extraction or impacted wisdom tooth: roughly 5,000–10,000 baht per tooth, depending on complexity and imaging needed.
- Sedation or general anaesthesia (if requested in a hospital setting): additional charges apply and must be pre-booked.
Most clinics accept cash, major credit cards, and QR PromptPay. If you plan to claim on insurance, request a detailed receipt with diagnosis and procedure codes.
Planning your trip timeline
Give yourself a comfortable window. Ideally:
- Consultation and X-ray on Day 1, extraction on the same day or next day.
- A rest day after the procedure to manage swelling and pain.
- A quick review 2–3 days later if surgical, or suture removal around Day 5–7.
Flying after an extraction is usually fine, but for surgical or sinus-related upper molars, it’s safer to allow 48–72 hours before flying. Avoid scuba diving for at least a week. If your itinerary is tight, tell your dentist; they can advise on timing and provide written aftercare to carry on your journey.
Before you come: what to prepare
- Medical history: Share any heart conditions, diabetes, allergies, or past complications with anesthesia. Bring a list of medications, especially blood thinners (e.g., warfarin, clopidogrel), as adjustments may be needed.
- Lifestyle notes: If you smoke or vape, plan to stop for several days before and after to reduce the risk of dry socket and infection.
- Food and accommodation: Book a place close to the clinic or near a BTS/MRT stop for easy access. After extraction, you’ll want soft foods—think congee (khao tom), yoghurt, bananas, and scrambled eggs—available nearby.
- Communication: Add the clinic’s Line account for quick questions and photo updates if needed.
On the day of extraction: what to expect
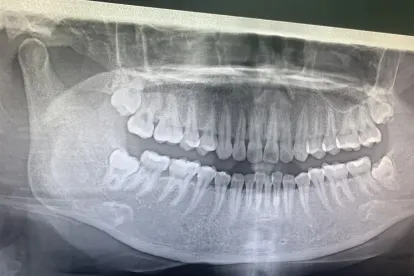
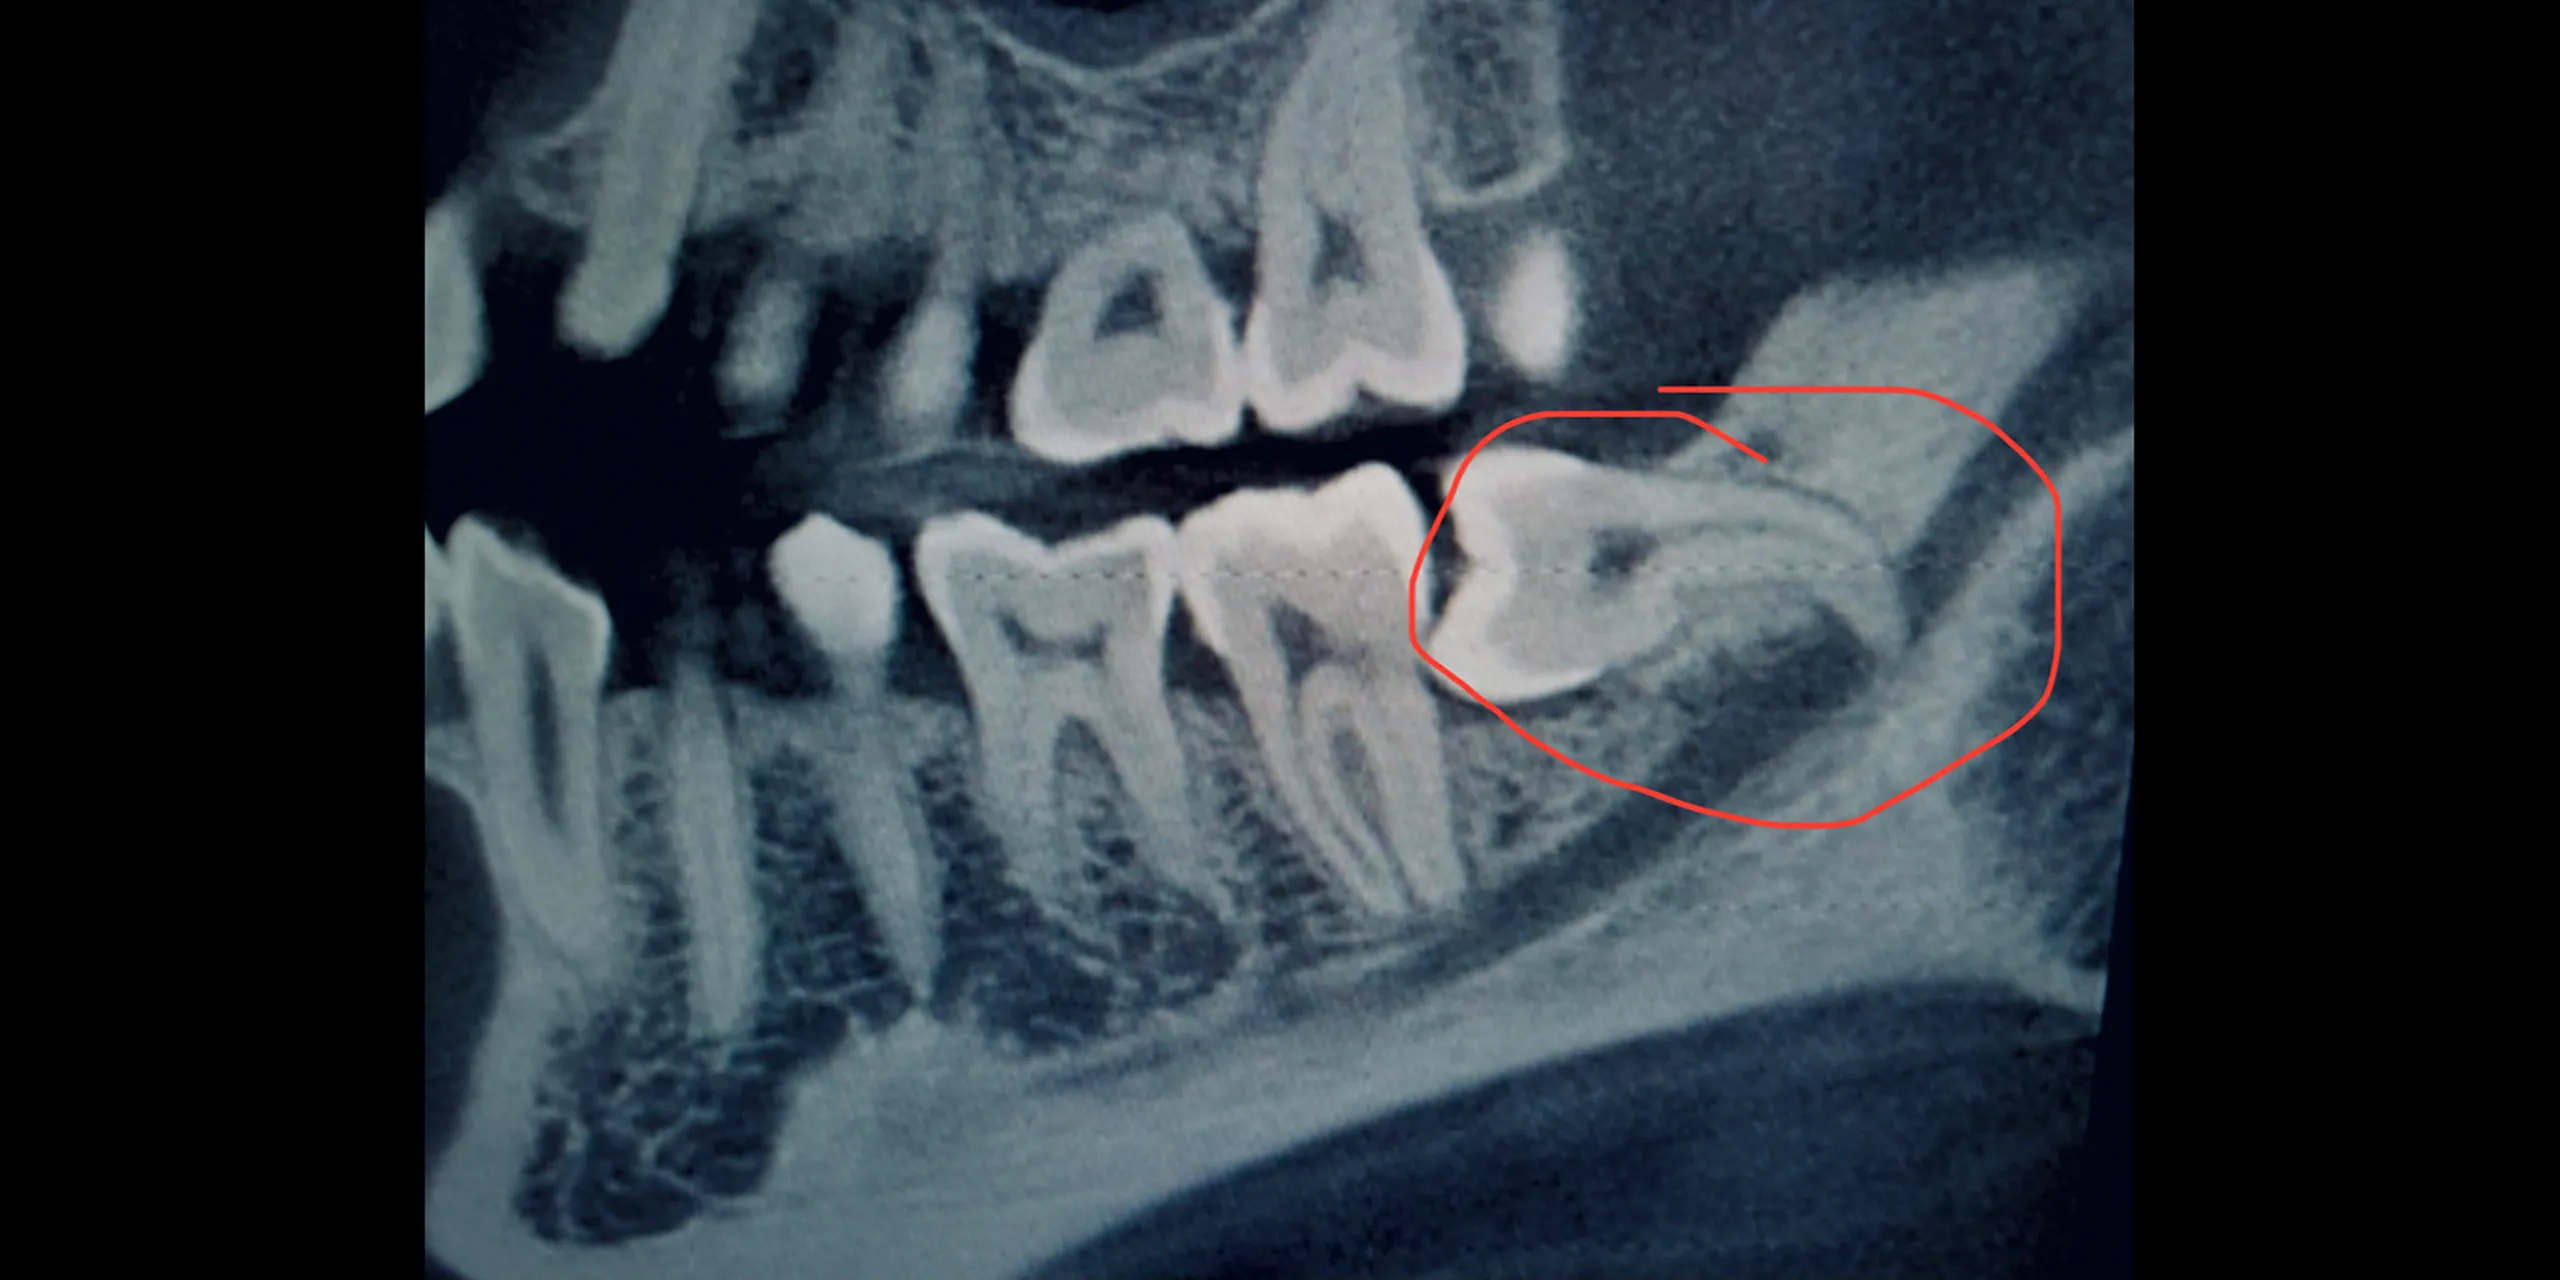
- Assessment: Your dentist will review a panoramic X-ray (OPG) or CBCT for wisdom teeth to map roots and nerves. You will sign a consent form that explains risks and alternatives.
- Anaesthesia and comfort: Local anaesthetic is standard and very effective; you’ll feel pressure but not pain. Sedation can be arranged in selected clinics or hospitals with an anesthesiologist, but must be booked in advance. Thai FDA-approved medications are used.
- Procedure time: A simple extraction may take 10–20 minute
s; surgical removal can take 30–60 minutes. Stitches (often dissolving) may be placed to aid healing.
- After the procedure: You’ll bite on gauze for 30–60 minutes to stabilise the blood clot. Numbness typically lasts 2–4 hours.
Practical aftercare in Thailand’s climate
Heat, spicy food, and busy travel days can slow recovery, so take it sabai-sabai (take it easy). Key steps:
- Control bleeding: Keep gentle pressure on the gauze as instructed. A small amount of oozing is normal on Day 1.
- Swelling and pain: Use an ice pack wrapped in cloth for 15 minutes on, 15 minutes off, during the first 24–48 hours. Pain is commonly managed with ibuprofen or paracetamol as advised. Avoid aspirin unless your doctor recommends it.
- Food and drink: For 48 hours, choose soft, cool foods—congee, soups (warm, not hot), yoghurt, smoothies by spoon (no straw), mashed potatoes, and soft fruits. Avoid chili, sour foods, very hot drinks, and alcohol for a few days.
- Oral hygiene: Do not rinse for the first 24 hours. From Day 2, gentle warm salt-water rinses after meals help keep the area clean. Brush other teeth normally, avoiding the socket.
- Activity: Sleep with your head elevated on the first night. Avoid heavy exercise, sauna, or swimming pools for 3–5 days.
- No smoking or vaping: Even a few puffs can significantly increase dry socket risk.
Understanding normal healing vs red flags
- Normal: Swelling peaking at 48 hours, mild bruising, and soreness that improves daily. A small jaw stiffness is common after lower wisdom tooth removal.
- Contact the clinic if: Pain suddenly worsens on Days 3–5 (possible dry socket), persistent bleeding that does not slow after repeated gauze pressure, fever, foul taste or discharge, spreading swelling, or numbness that persists beyond 24 hours after anesthesia wears off.
Convenient clinic locations and hours
Bangkok has many reputable clinics along Sukhumvit and Silom roads, often just a short walk from BTS or MRT stations. You’ll also find experienced teams in Chiang Mai’s old city and Nimman area, and in Phuket near major beaches. Many clinics open late and on weekends; do check for public holiday closures. Walk-ins are sometimes accepted, but booking is safer, especially in high season.
Choosing a trusted provider
- Look for an oral surgeon for complex or impacted teeth.
- Review recent patient feedback and before–after photos on the clinic’s website or Google Maps.
- Ask about sterilisation protocols, imaging options, and whether dissolving sutures are used.
- Confirm if the dentist is comfortable managing international patients and can coordinate by email or Line.
- For sedation or if you have significant medical conditions, consider a hospital dental department.
A quick note on medications
Antibiotics are not automatically needed for all extractions; your dentist will prescribe only if indicated. If you are given antibiotics, take the full course. Take painkillers as directed, avoid doubling up products containing paracetamol, and inform your dentist of any allergies. Keep a bottle of water with you—staying hydrated helps healing in Thailand’s warm weather.
Paying and paperwork
Ask for an itemised receipt and a short treatment summary for your records. If you need a fit-to-fly note or a letter for travel insurance, request it before you leave the clinic. Keep the clinic’s phone and Line contact handy in case you have questions later in your trip.
The bottom line
Tooth extraction in Thailand is straightforward, safe, and wallet-friendly when planned with a little care. Choose a well-reviewed clinic near convenient transport, allow yourself recovery time, follow the aftercare, and skip the spicy food for a few days. With the right team on your side, you can say mai pen rai to dental stress and get back to enjoying your Thailand trip with a healthy, comfortable smile.