Thailand Root Canal Deep Disinfection Steps
Thailand Root Canal Deep Disinfection Steps
**Thailand Root Canal Deep Disinfection Steps**
For many people living in or visiting Thailand, dental health is a top priority. Whether you’re enjoying spicy street food in Bangkok or relaxing on a beach in Phuket, tooth pain can quickly become a major discomfort. One of the most common dental procedures for saving a damaged tooth is a root canal. In Thailand, dentists often emphasise the importance of *deep disinfection* during a root canal, ensuring the tooth is thoroughly cleaned inside before it’s sealed. This is especially important in a tropical climate, where bacteria tend to multiply faster.
In this article, we’ll walk through the typical deep disinfection steps of a root canal in Thailand, so you know exactly what to expect and can feel confident about the process.
---
### **Understanding Root Canal Treatment in Thailand**
A root canal is designed to remove infection from inside the tooth, protect it from further damage, and preserve your natural smile. In Thailand, dental clinics—whether in urban centres like Bangkok and Chiang Mai or in resort towns like Pattaya—follow strict hygiene protocols. The deep disinfection process is a key element because it reduces the risk of reinfection, which can be higher in warm and humid conditions.
---
### **Step 1: Local Examination and Digital X-Ray**
Your dentist will begin with a local examination and often a digital X-ray. This step helps identify exactly where the infection is, and how severe it is. Thai dentists typically use modern imaging systems so patients can see and understand the problem clearly themselves. You’ll notice the dentist might explain in friendly, easy-to-understand terms—reflecting Thailand’s warm hospitality even in medical settings.
---
### **Step 2: Local Anaesthesia**
Once the treatment plan is confirmed, local anaesthesia is applied to ensure comfort. Many Thai clinics use ultra-fine needles and modern anaesthetic formulas to reduce the sting. This is the part where patients start to relax, knowing they won’t feel pain during the procedure.
---
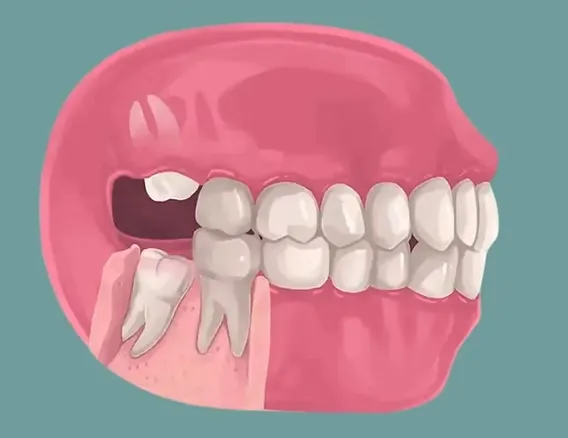
### **Step 3: Opening the Tooth**
The dentist creates a small opening in the crown (top) of the tooth to access the root canals. Precision is key here. Thai dentists usually combine traditional dental skills with advanced equipment, such as dental microscopes, to see the fine details inside the tooth.
---
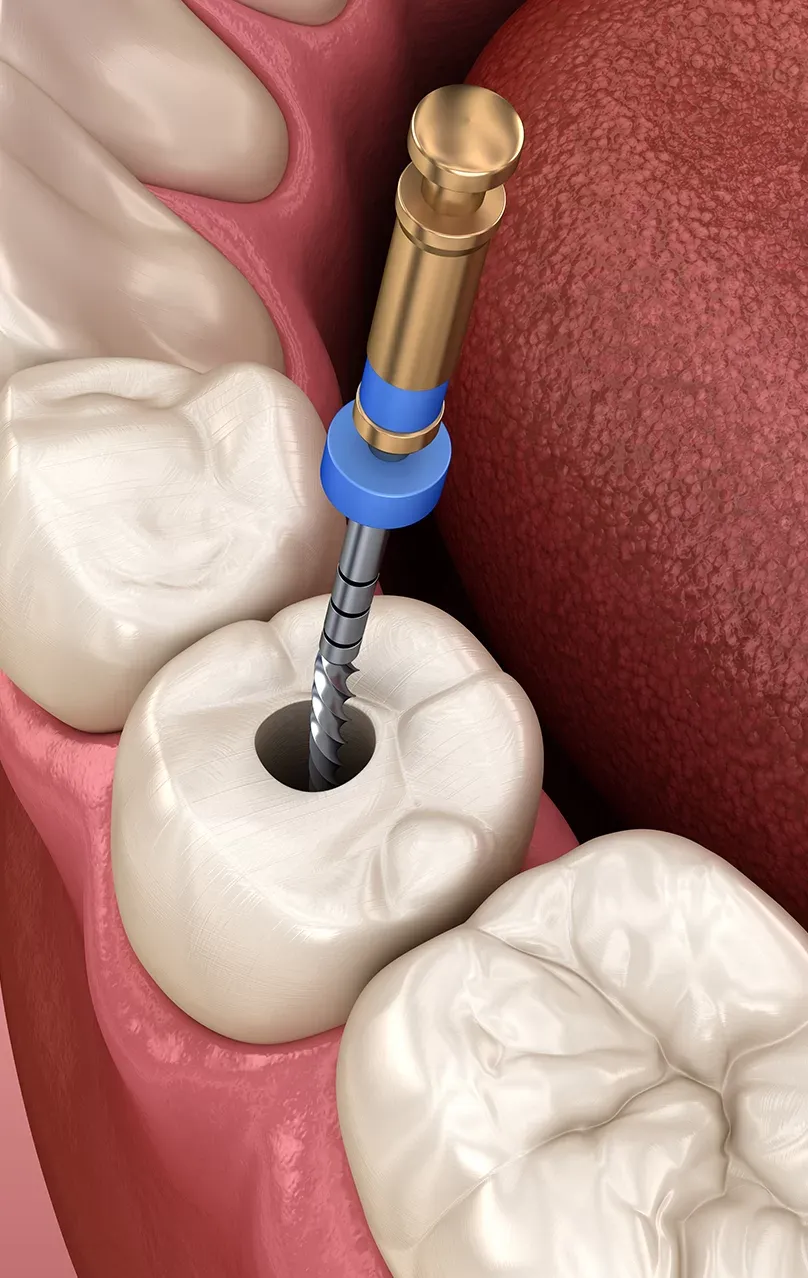
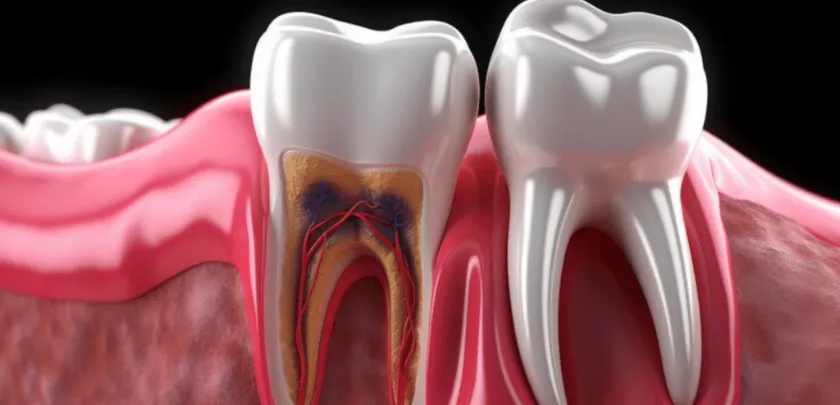
### **Step 4: Cleaning Out the Infected Pulp**
Inside every tooth is a soft tissue called pulp, which contains nerves and blood vessels. Infected pulp must be completely removed. Using specialised tools, the dentist gently clears the inside of the tooth while making sure to preserve as much of the tooth’s structure as possible.
In Thailand, this stage may involve patient-friendly explanations so you remain informed. Communication builds trust—something Thai dental professionals are known for.
---
### **Step 5: Deep Disinfection with Antimicrobial Solutions**
This is the most crucial part when it comes to preventing future problems. After removing th
e pulp, the dentist uses antimicrobial irrigation solutions or medicated rinses to kill bacteria deep inside the canals.
Some clinics in Thailand use a combination of sodium hypochlorite and chlorhexidine, applied with gentle suction to avoid chemical overflow. Advanced technology like ultrasonic activation or laser-assisted systems might also be used to make sure the disinfectant penetrates every tiny canal.
Because Thailand’s climate can make oral bacteria more aggressive, many dentists go beyond standard cleaning, taking extra time with each canal to ensure a thorough result.
---
### **Step 6: Drying the Canals**
After disinfection, the canals must be dried to prevent new bacteria growth. This is usually done with special paper points that absorb any remaining moisture. In humid weather—common in Thailand—this step is particularly important.
---
### **Step 7: Temporary Filling and Rest Period**
Sometimes the dentist will place a temporary filling and allow a short period for the tooth to settle before final sealing. This resting stage helps confirm that the infection is gone and that no pain or swelling returns. Many Thai dentists recommend a follow-up visit within a week to check progress.
---
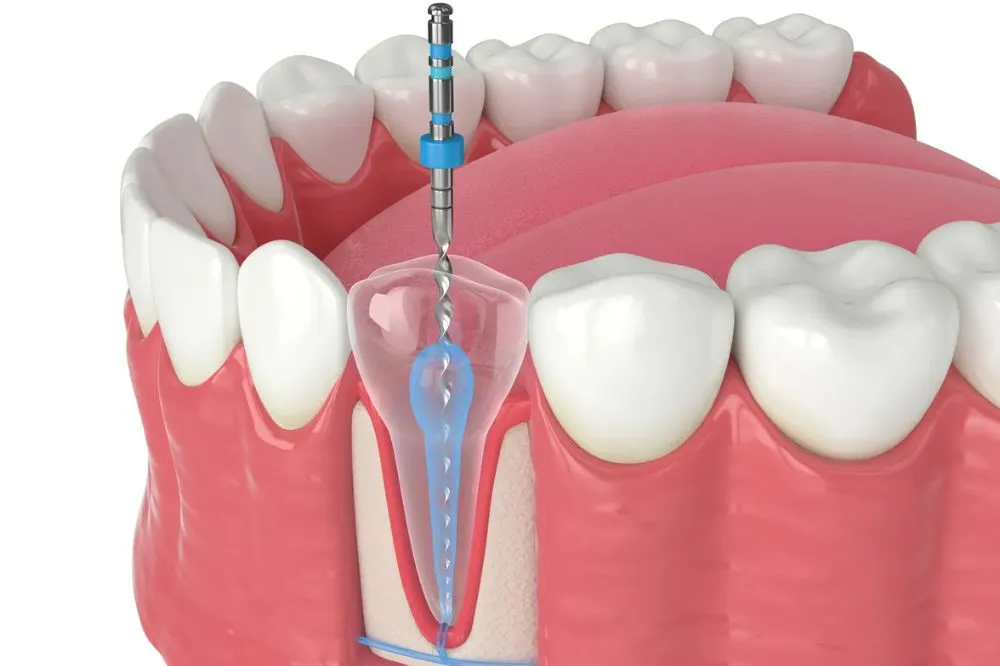
### **Step 8: Sealing the Tooth**
Once confident that the tooth is fully disinfected, the dentist seals the canals with a permanent filling material, often gutta-percha. The crown of the tooth is then restored—either with a filling or a customised cap. In Thailand, crowns are available in materials ranging from porcelain-fused metal to full zirconia, depending on your preference and budget.
---
### **Step 9: Oral Care Tips After Treatment**
After a deep disinfection root canal, oral hygiene is vital. Your dentist might suggest:
- Avoiding sticky or hard foods for a few days.
- Brushing gently around the treated tooth.
- Using an antibacterial mouth rinse to keep microbes down.
- Scheduling regular check-ups—many Thai clinics offer comfortable follow-up visits.
---
### **Why Thai Dental Clinics Are Well-Regarded for Root Canal Work**
Thailand’s dental sector is known for blending international standards with patient-friendly service. Modern clinics often meet or exceed Western hygiene requirements, and treatments can be more affordable compared to other countries—without compromising quality.
For expatriates or visitors, English-speaking dentists are common in larger cities, making the explanation of each step very comfortable to follow.
---
### **Final Thoughts**
Understanding the deep disinfection steps in a Thailand root canal helps you stay relaxed and informed during your treatment. From thorough examination to meticulous cleaning and sealing, Thai dental professionals are committed to ensuring your tooth stays healthy for years to come.
If you ever find yourself experiencing tooth pain in Thailand, you can expect a warm welcome, advanced technology, and a careful approach to disinfection that keeps your smile bright—no matter the tropical heat outside.
---